ActivityHD supports attaching files to most types of entity records. Attachments are useful for tracking invoices, receipts, contracts, notes, and employee paperwork. Attachments help you stay organized and support your green agenda by reducing the need for storing and sorting through paper documents.
If at least one entity record of a given entity type has an attachment, the Attachments tab is visible on all records of that entity type. If all attachments are deleted for all records of a given entity type, the Attachments tab will no longer be visible.
Enable attachments
To use the attachments feature, you must:
- Use SQL Server 2016 or greater.
- Set the compatibility level for the SQL database used with the ActivityHD company folder to at least 100.
- Run SQL Server Management Studio.
- Expand the Databases folder, right-click the company folder, and select Properties from the shortcut menu.
- In the Database Properties dialog box, select the Options page and locate the Compatibility level field.
- Set the compatibility level to 100 (or greater).
- Enable FILESTREAM using SQL Server Configuration Manager.
-
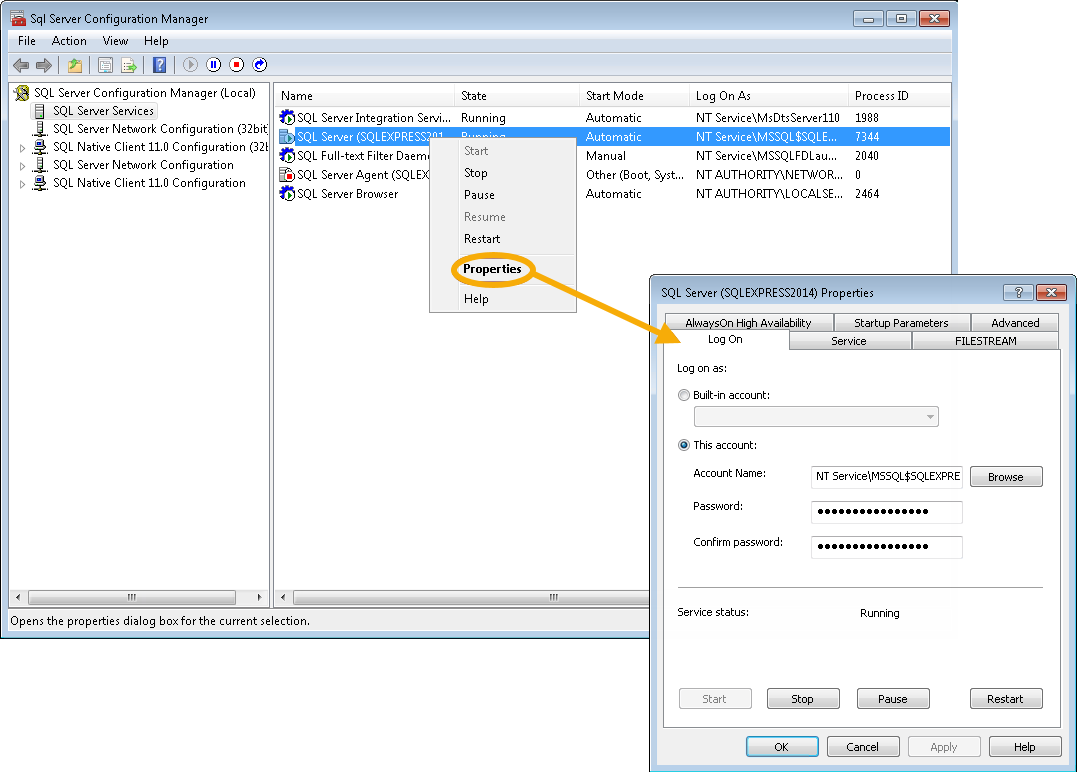
From the Windows Start menu, select All Programs > Microsoft SQL Server [version year] > SQL Server Configuration Manager.
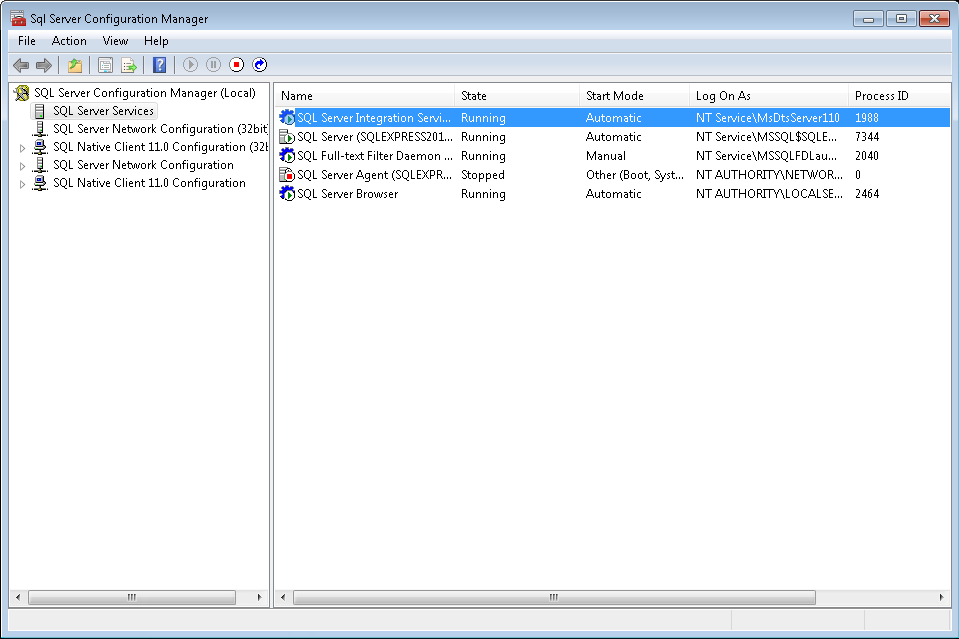
- In the left pane, select SQL Server Services.
-
In the right pane, locate the instance of SQL Server for which you want to enable FILESTREAM (typically "MSSQLSERVER"), right-click on it, and select Properties from the shortcut menu. The SQL Server Properties dialog box opens.
-
Select the FILESTREAM tab.
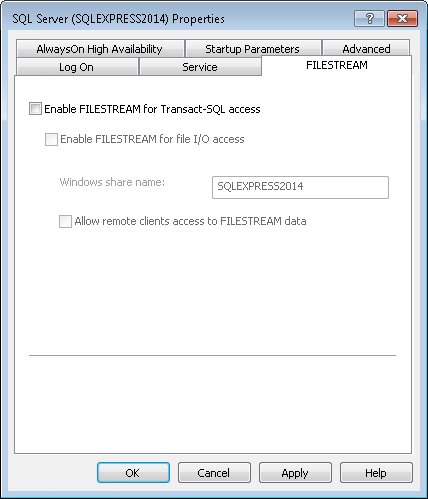
- Mark the Enable FILESTREAM for Transact-SQL access checkbox.
-
If you want to be able to read and write FILESTREAM data from Windows, mark the Enable FILESTREAM for file I/O access checkbox. The Windows share name field defaults to the name of the SQL instance. Enter a new name if desired or accept the default.
Note
AccountingWare recommends not marking this option unless you have a specific need. If you do mark this checkbox, we recommend that you exclude folders with FILESTREAM data from anti-virus scanning in order to prevent potential conflicts.
-
If you marked the Enable FILESTREAM for file I/O access checkbox, the Allow remote clients access to FILESTREAM data is enabled. If remote clients need to access the FILESTREAM data that is stored on this share, mark this checkbox.
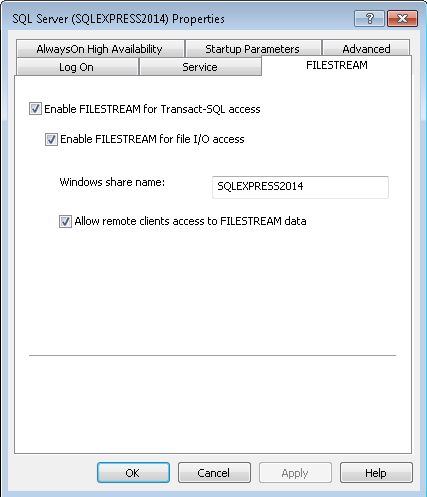
- Click OK.
-
-
Enable attachments for the ActivityHD database.
Method 1:
If you did not enable attachments when you initially configured ActivityHD, you can do so after the fact.
To enable attachments for the system database:
- Run ActivityHD Manager.
- If Activity System is running, click Stop and confirm that you want to stop the system and all companies.
- In the Activity System area, click Configure to start the ActivityHD System Configuration wizard.
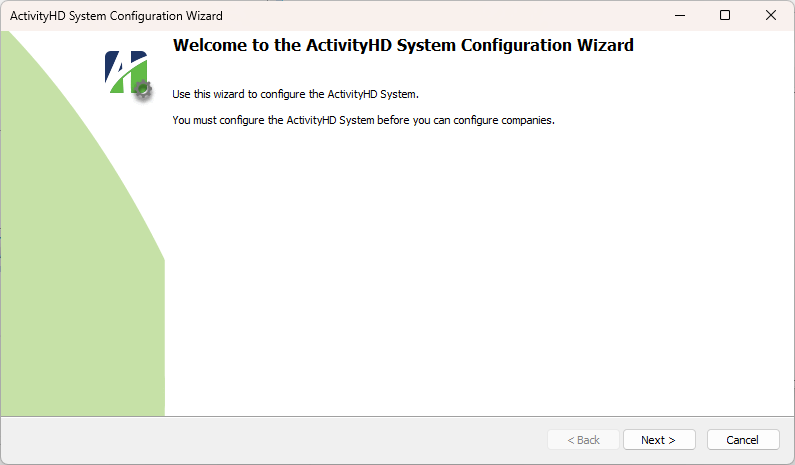
- Click Next >. The Confirm System Installation page loads.
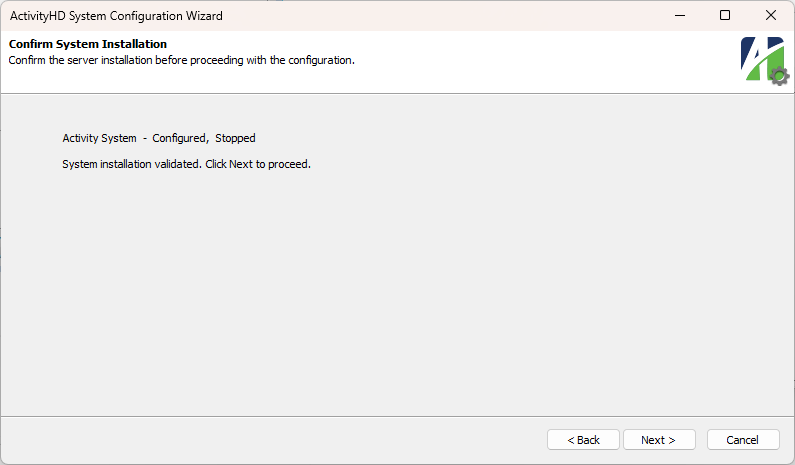
- Click Next >. The Connect to SQL Server page loads. Make any changes necessary.

- Click Next >. The System Configuration page loads. Make any changes necessary.

- Click Next >. The System Database Configuration page loads. Make any changes necessary.
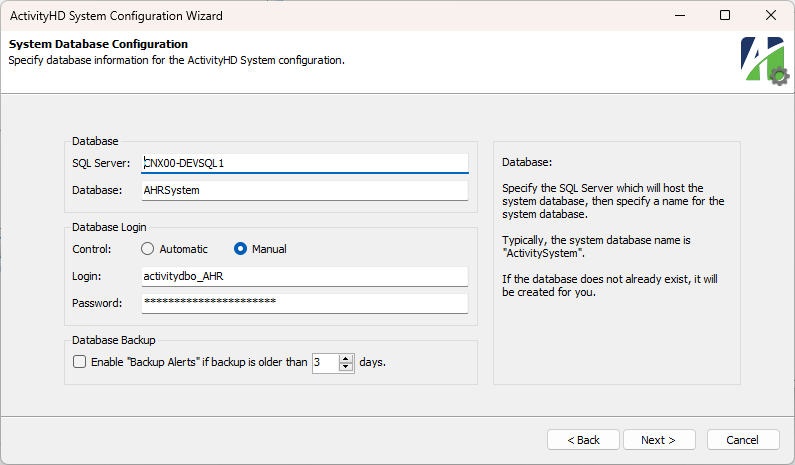
- Click Next >. The System SelfServe Configuration page loads. Make any changes necessary.
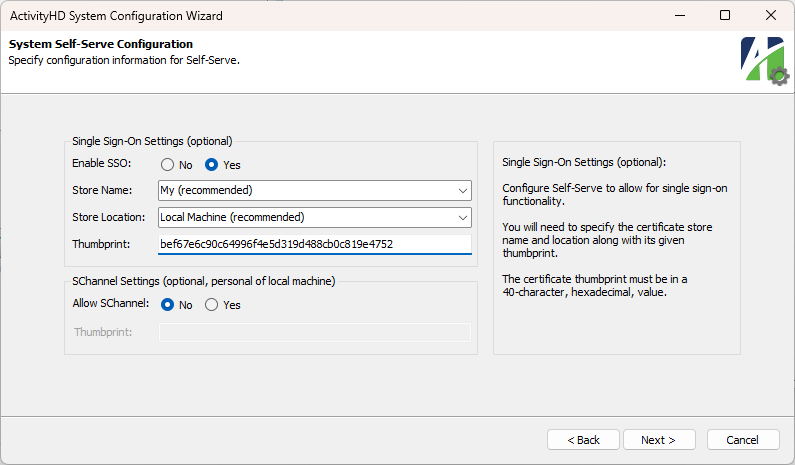
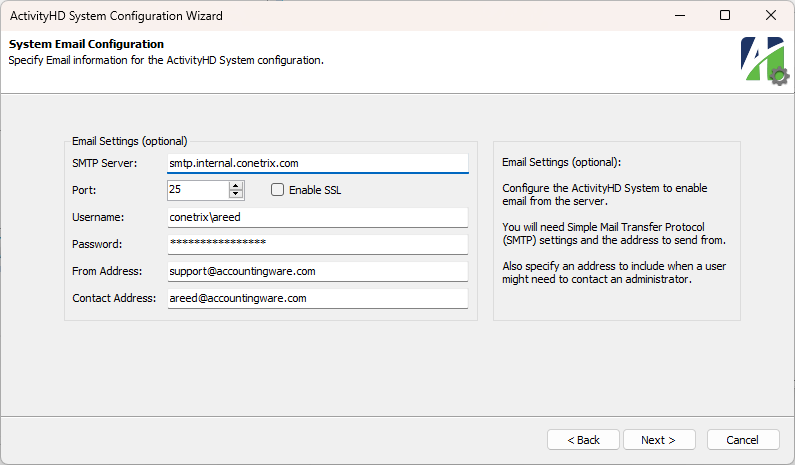
- Click Next >. The System Email Configuration page loads. Make any changes necessary.
- Click Next >. The Confirm System Configuration page loads.
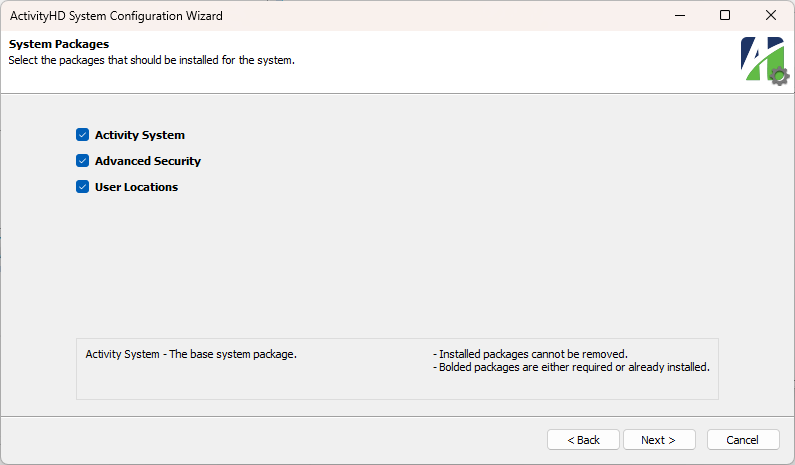
- Click Next >. The System Packages page loads. Select additional packages as needed.
- Click Next >. The System Attachments Configuration page loads.
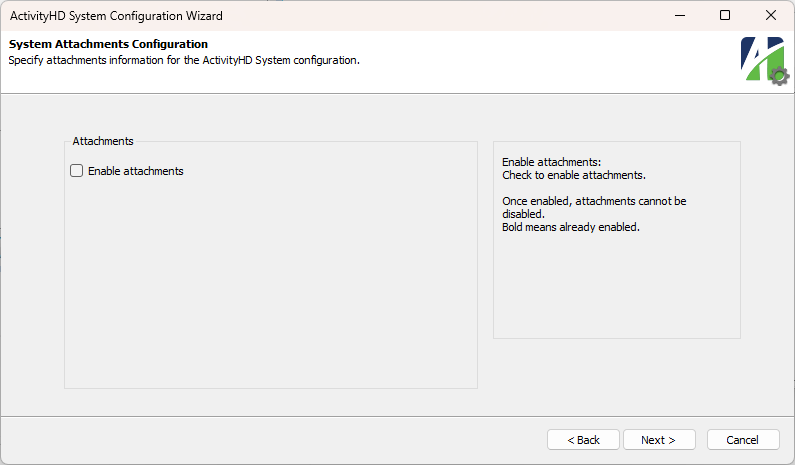
- Mark the Enable attachments checkbox.
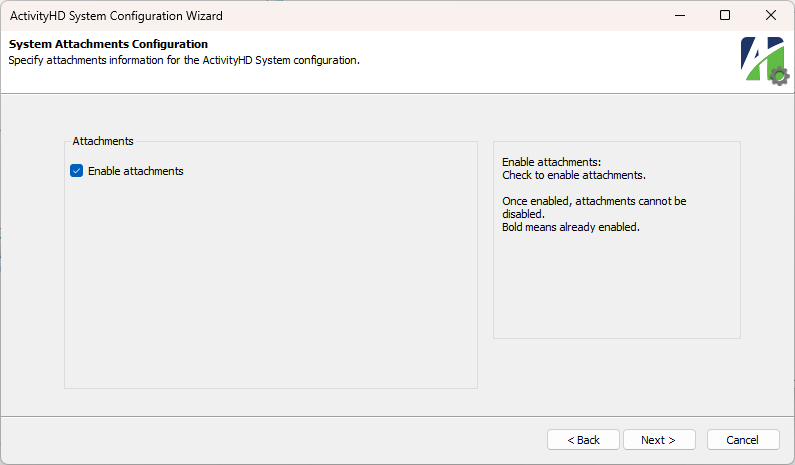
- Click Next >. The System Updates page loads.
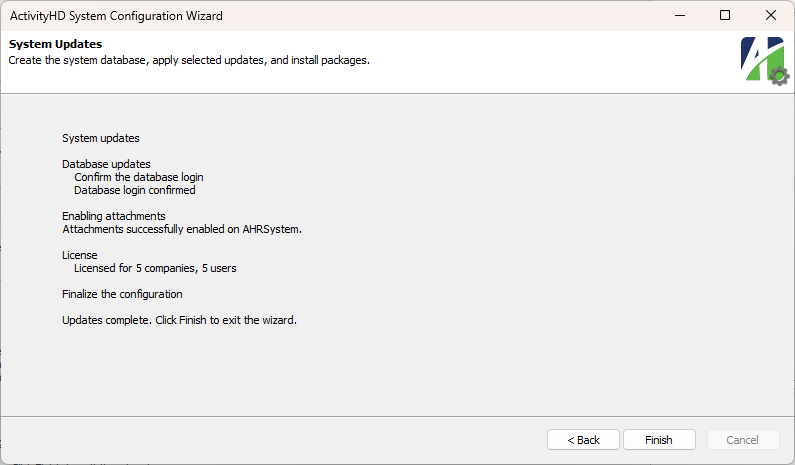
- Click Finish.
To enable attachments for a company database:
- Run ActivityHD Manager.
- If Activity System is running, click Stop and confirm that you want to stop the system and all companies.
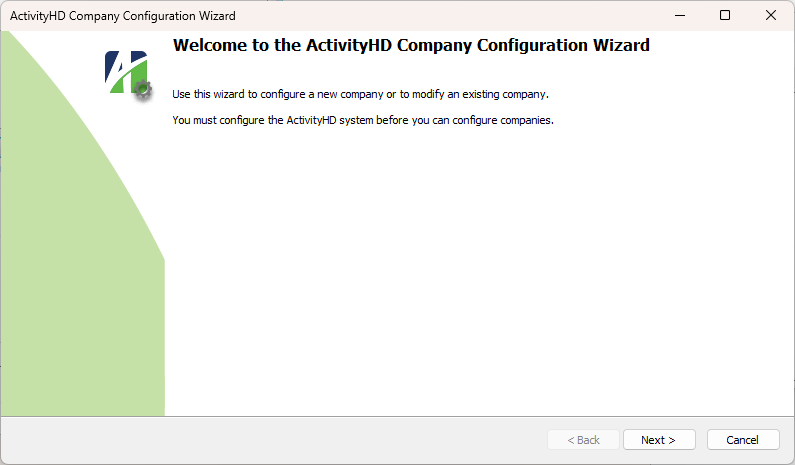
- In the Activity Companies area, click Configure to start the ActivityHD Company Configuration wizard.
- Click Next >. The Confirm System Configuration page loads.

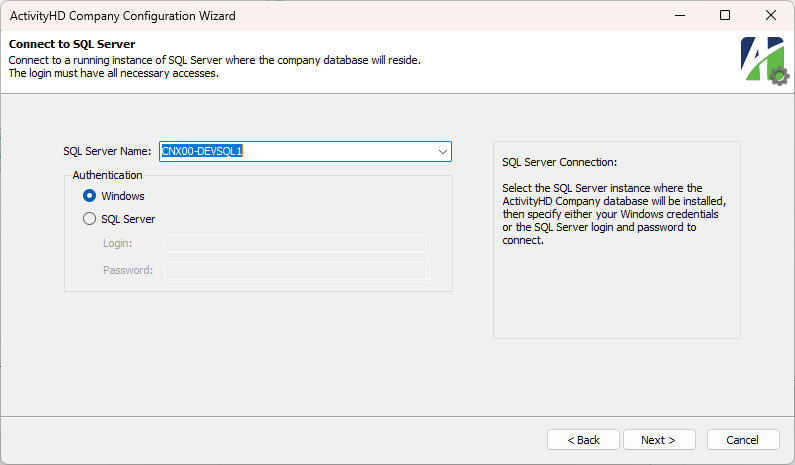
- Click Next >. The Connect to SQL Server page loads. Make any changes necessary.
- Click Next >. The Company Configuration page loads.
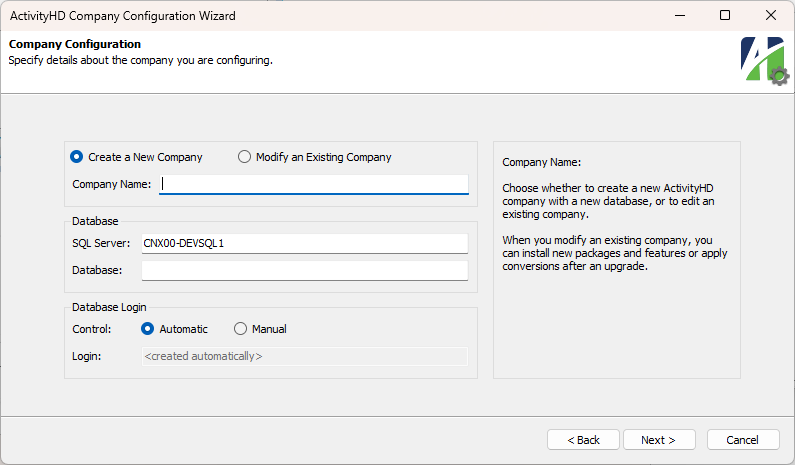
- Select "Modify an Existing Company"
- From the Company Name drop-down list, select the company to enable attachments for. Make any other changes necessary.
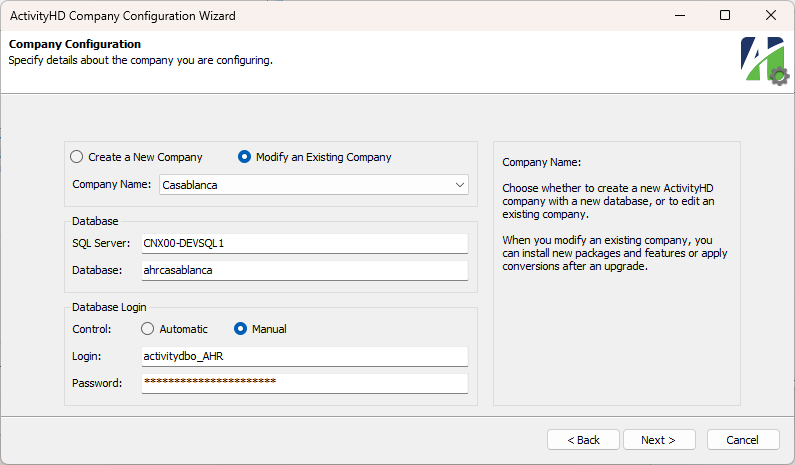
- Click Next >. The Confirm Company Configuration page loads.
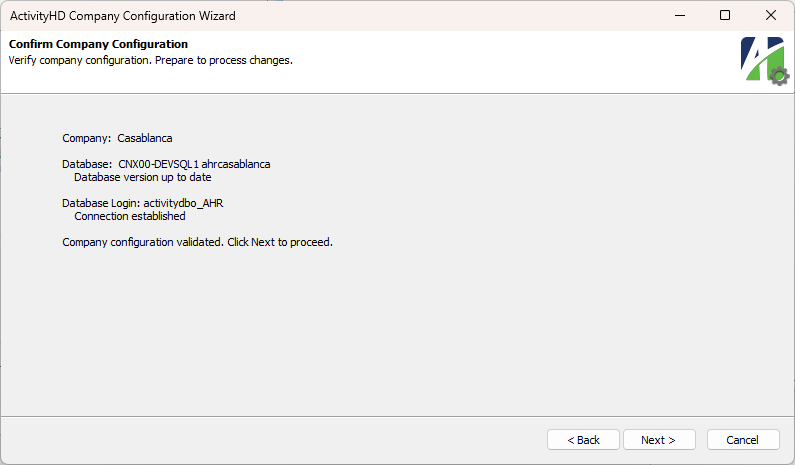
- Click Next >. The Company Packages page loads. Select additional packages as needed.
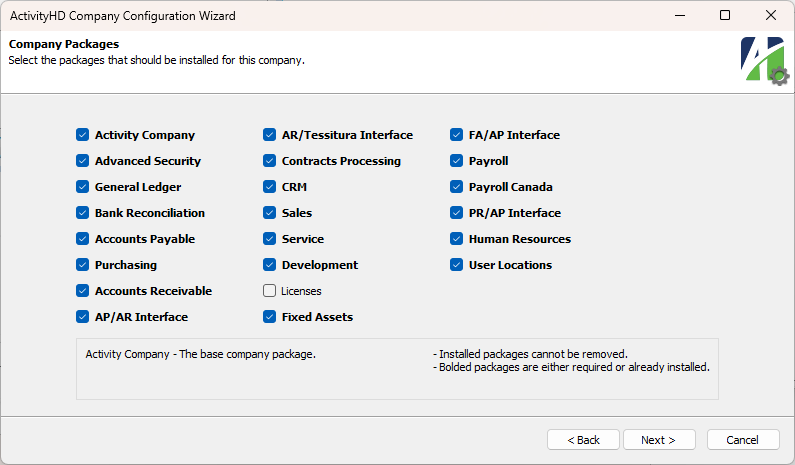
- Click Next >. The Company Attachments Configuration page loads.
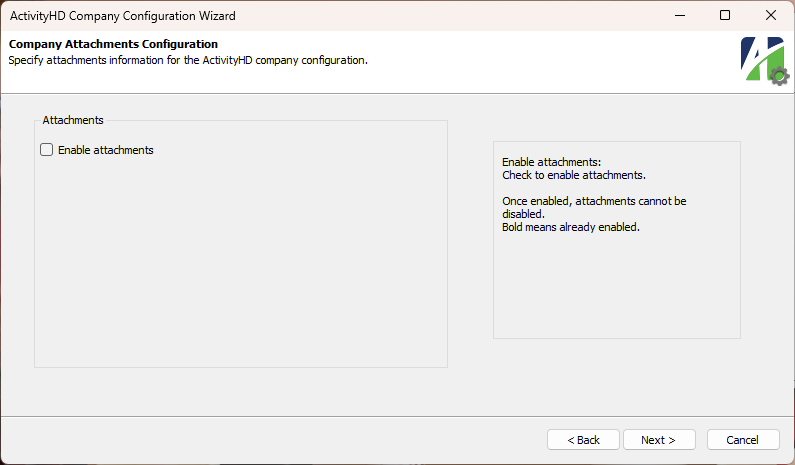
- Mark the Enable attachments checkbox.
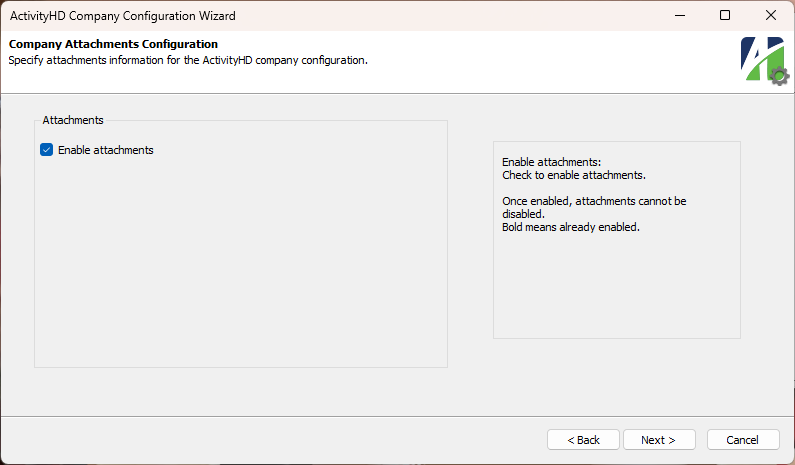
- Click Next >. The Company Updates page loads.
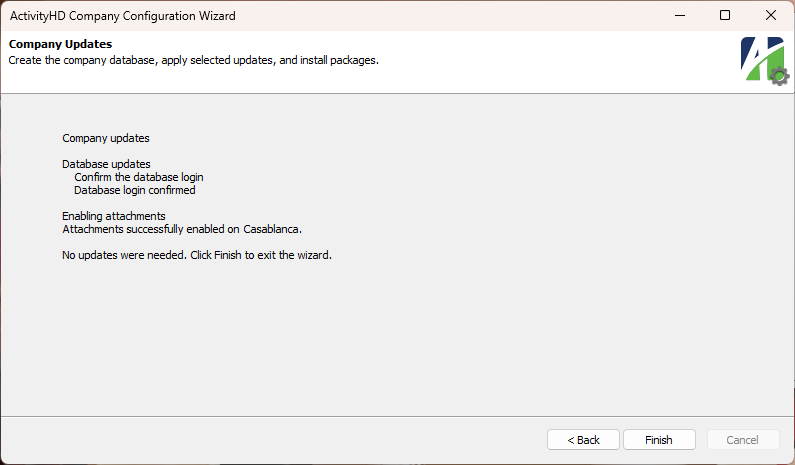
- Click Finish.
Method 2:
- Run ActivityHD Manager.
-
From the Databases menu, select Connect. The Connect to SQL Server dialog box opens.
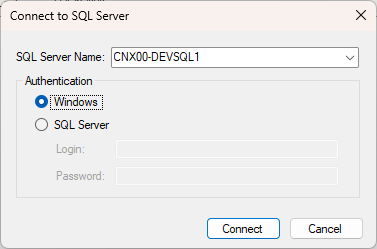
- If your Windows username has sufficient privileges, select "Windows" in the Authentication section and then click Connect. Otherwise, select "SQL Server", specify a username and password with sufficient privileges, and then click Connect.
-
On the Databases tab, select the database you want to enable attachments for, right-click its name, and select Enable Attachments from the shortcut menu.
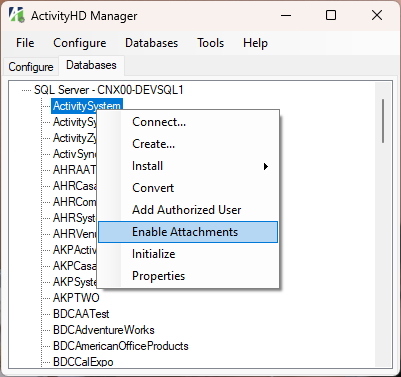
ActivityHD prompts you to confirm that you want to enable attachments.
- Click OK. SQL prompts you to specify the folder where you want to store attachments.
-
Browse to the folder you want to use and then click OK.
Tip
AccountingWare recommends you create the attachments folder in the same directory as your ActivityHD company database.
- Close ActivityHD Manager.
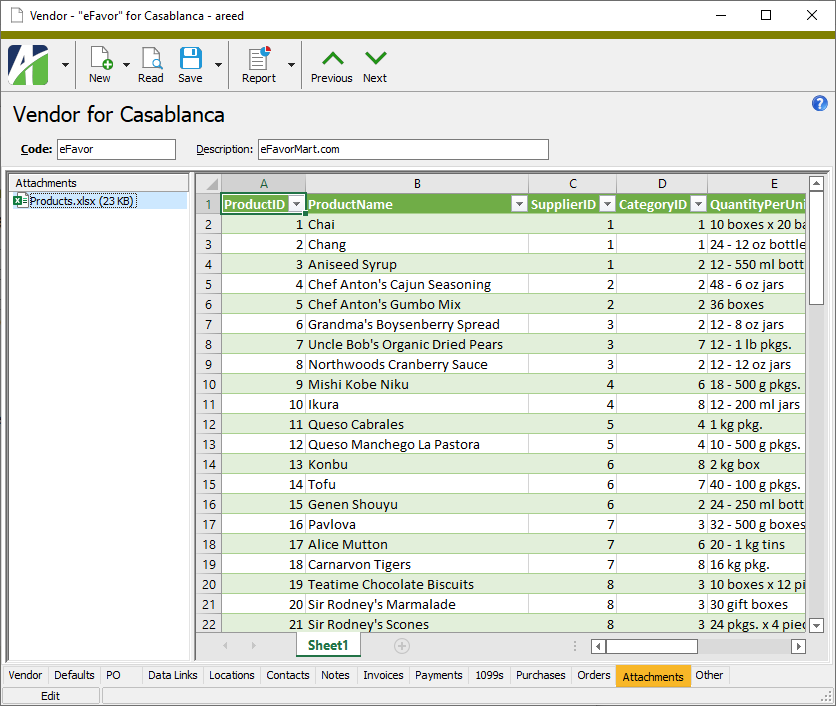
Attach a file to a record
Note
When you create a new entity record, you must save the record before you can attach a file to it.
To attach a file to an entity record when there are no other files attached to it:
- Open the entity record you want to attach a file to.
- Select
 > File > Add Attachment. The Add Attachment dialog box opens.
 - Browse to the file you want to attach, highlight it, then click Open. The file is added in the Attachments list box on the Attachments tab.
Note
If the file you attempt to attach is larger than 500KB, ActivityHD notifies you of the file size and asks whether you want to continue with attaching the file.
After a first file is attached to an entity record, you have several options for attaching additional files to the record:
- You can use the same method you used to attach the first record.
- You can right-click the Attachments list box and select Add from the shortcut menu.
- If you have a compatible scanning device set up, you can right-click the Attachments list box and select Scan from the shortcut menu to scan and attach a file.
- You can drag and drop files and folders from File Explorer to copy them to the Attachments tab.
-
You can copy a file and paste it on the Attachments tab.
Note
If you want to preserve the file or folder in your file system when attaching it, either press Ctrl as you drag and drop or use the cut and paste method.
The shortcut menu from the Attachments list box provides several options for viewing and managing attachments.
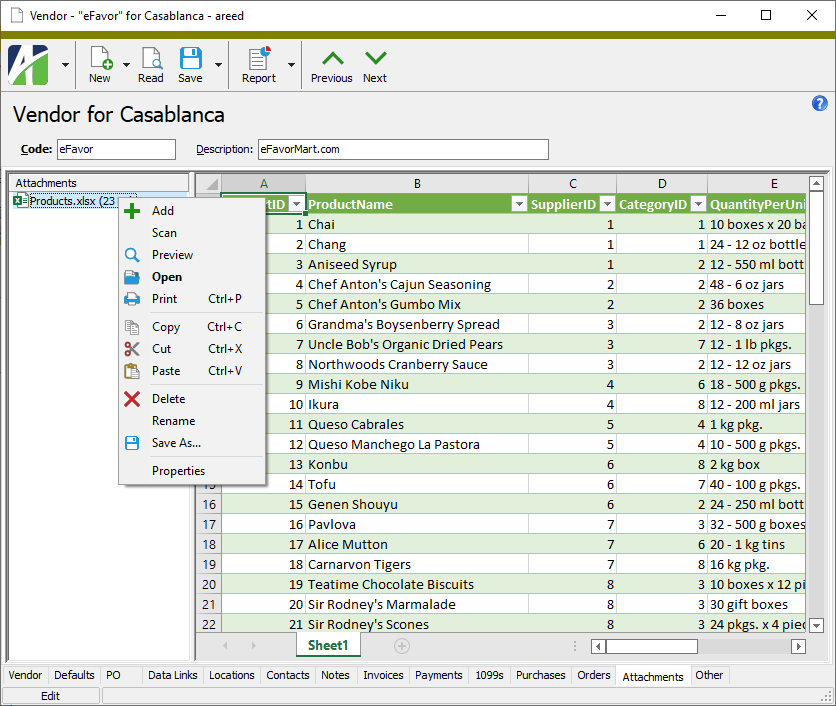
Note
The Add, Scan, and Paste commands are available whether an attachment is selected in the list box or not. (The Paste command is only enabled if a file has been copied to the clipboard.) The remaining commands require you to first select a file to act upon.
The following table lists the commands in the shortcut menu and describes their behavior.
| Command | Action |
|---|---|
| Add | Opens the Add Attachments dialog box so you can browse to and select the file to attach. This command has the same behavior as the File > Add Attachment command in the menu. |
| Scan | If you have a compatible scanner attached, allows you to scan a file and attach it to a record. |
| Preview |
Loads a preview of the selected file in the right pane. The file preview loads automatically when you select a file in the Attachments list box. Some file types cannot be previewed but can be double-clicked to open in their native editor. If you select a file type that cannot be previewed, a Disable preview for this file type checkbox is visible so that you can prevent ActivityHD from attempting to preview files of the type in the future. |
| Open | Opens the selected file in its native editor (if available). Alternatively, you can double-click a file to open it. |
| Sends the selected file to your default printer. | |
| Copy | Copies the selected file to the clipboard for pasting elsewhere. |
| Cut | Cuts the selected file and places it on the clipboard. |
| Paste | Pastes a file from the clipboard and attaches it to the record. |
| Delete | Deletes the selected file from the record. |
| Rename | Allows you to rename the selected file. |
| Save As... | Saves the file to a location in your file system. |
| Properties | Opens the Properties box for the selected file. The Properties box shows the file name, file size, and the day, date, and time the file was created, last modified, and last accessed. |
When scanning files to attach to records in ActivityHD, AccountingWare recommends the following measures to conserve disk space and to optimize backup performance:
- Rescan with a smaller resolution.
- Scan with color settings only when color is needed.
- Scan with grayscale only when it is needed.
- Make sure the scan area matches the size of your document. For example, scanning a letter size (8.5x11) document as a legal size (8.5x14) will cause the file to be bigger than it needs to be.
- Research your scanning hardware and software to make sure you are using the right settings to produce the smallest file size for the desired quality. Many tools have a compression feature allowing you to save files with a substantially smaller file size without degrading quality very much.
Note
All file optimization must be done prior to attaching the file to ActivityHD.
|
5225 S Loop 289, #207 Lubbock, TX 79424 806.687.8500 | 800.354.7152 |
© 2025 AccountingWare, LLC All rights reserved. |